Beekeeping Basics | October 4, 2026
When we moved onto our hillside property, I made the classic beginner mistake: I picked the flattest, most convenient spot for the hives instead of the best spot. That patch of ground sat in a cold pocket where frost lingered an hour longer than anywhere else, and the morning sun didn't hit the entrances until nearly ten o'clock. The bees survived, but they started foraging late every single day, and I spent the whole season wondering why the neighboring hives down the road were outpacing mine.
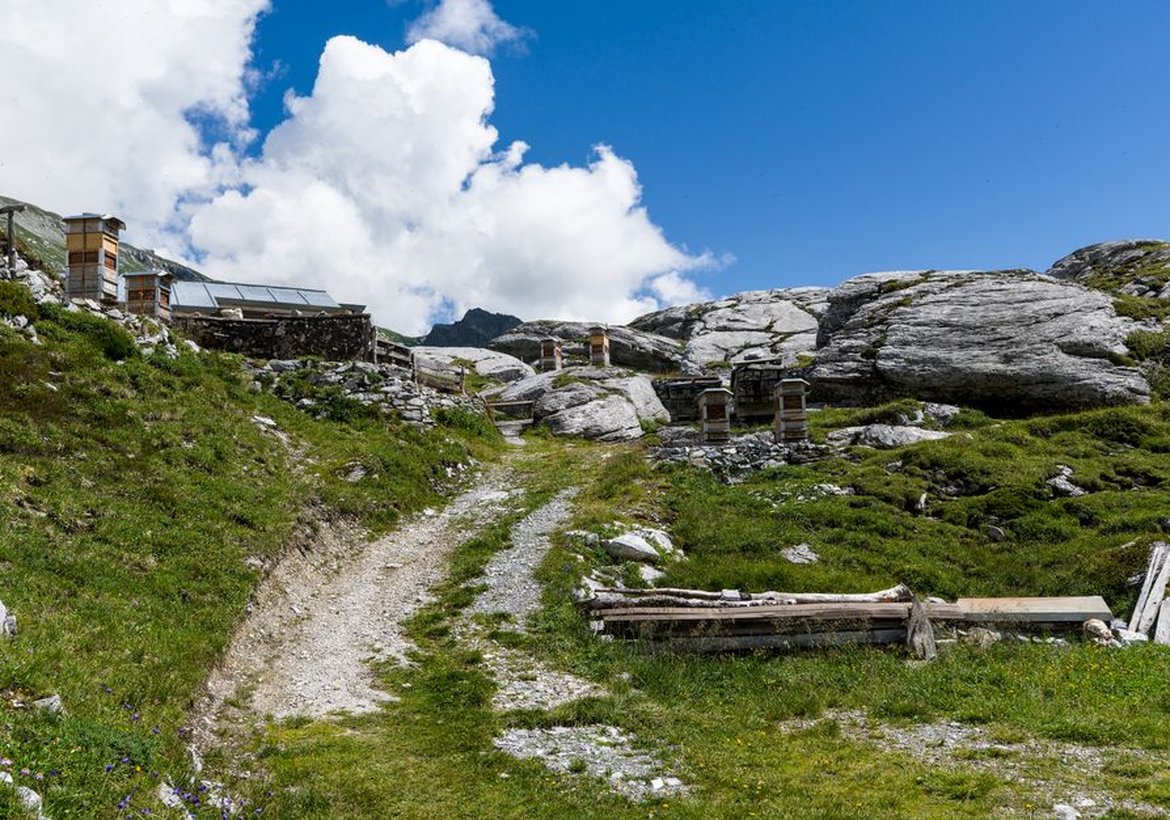
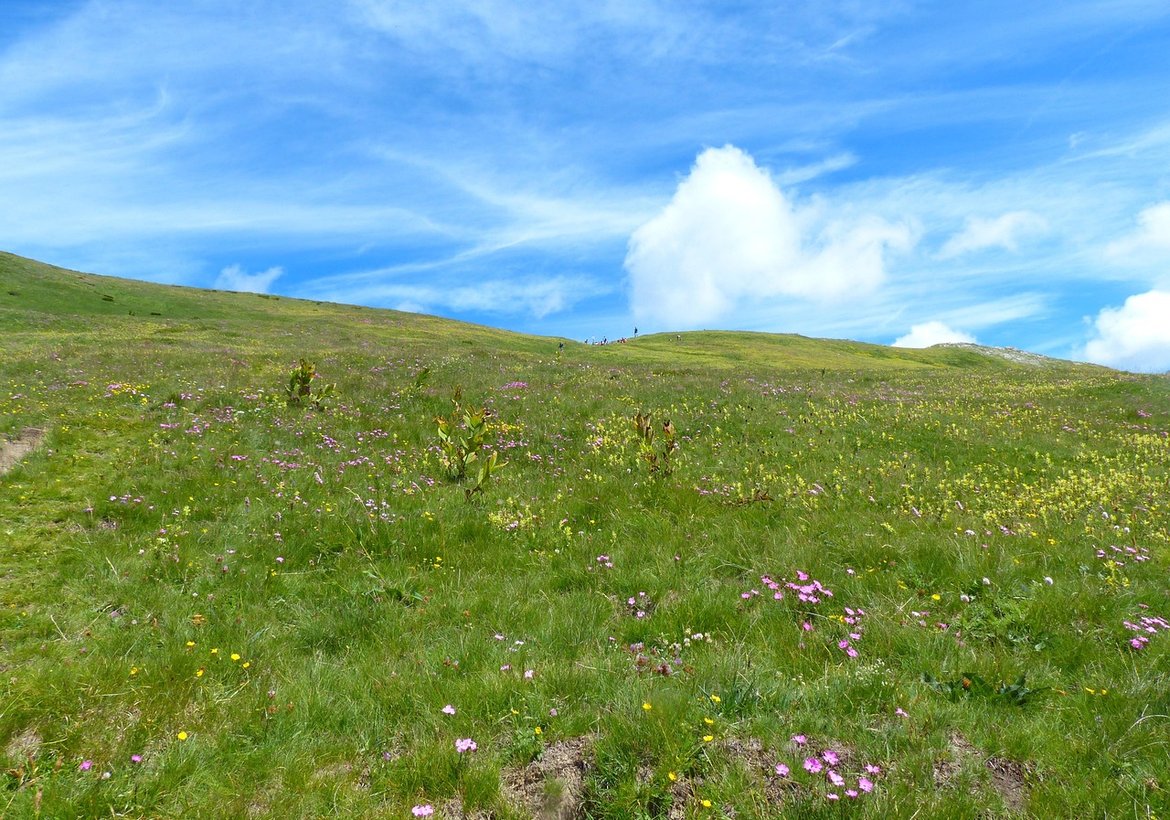
Hillside farms are wonderful for bees in a lot of ways. You get stacked microclimates, diverse bloom times as you move up and down the elevation, and excellent air drainage that keeps hives drier than flatland setups. But those same features mean you can't just drop a hive anywhere and expect it to thrive. You have to read the land first.
Reading Sun, Wind, and Cold Air on a Slope
The first thing to figure out is where cold air pools. On a slope, dense cold air slides downhill overnight like water and settles in hollows, swales, and the flat benches at the base of a hill. If your hive sits in one of those spots, it will be colder and damper than the surrounding area, and the bees will be slower to get going in the morning. Walk your property early on a frosty morning and look for the white patches that linger longest. Those are the pockets to avoid.
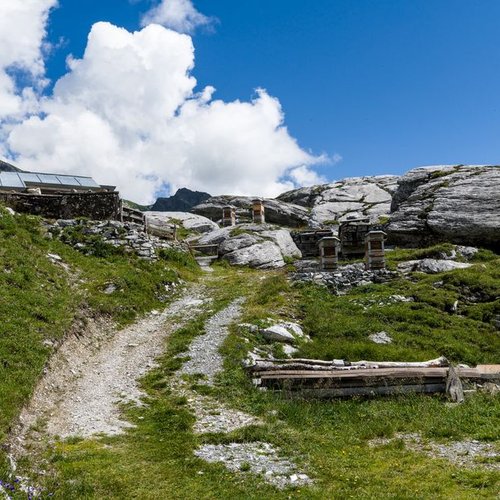
Morning sun matters more than most people realize. An east-facing entrance catches the first warm light and gets the colony out foraging early, which adds up over a season. On a hill, the best compromise is usually a gentle southeast slope where the hive sits slightly above the surrounding ground, not at the very top where wind whips across, and not at the bottom where cold air collects. Mid-slope, with a windbreak behind, is the sweet spot more often than not.
Wind is the other big factor on hilltop farms. A hive that takes the full brunt of prevailing winds will struggle to hold heat in winter and can get tipped if you're not careful with strapping. I like to tuck hives behind a hedgerow, a stacked stone wall, or a line of dense shrubs, leaving the entrance side open to the sun. The goal isn't to block all wind, just to break the worst of it.
Practical Setup for Uneven Ground
Once you've chosen the spot, leveling becomes the real work. Bees build comb straight down from gravity, so a hive that leans will get cross-comb and burr comb you'll curse later. On a slope, I set each hive on a pair of concrete blocks or pressure-treated timbers dug into the hillside, then shim the hive stand until a level laid across the top reads true side to side and front to back. A slight forward tilt, maybe an eighth of an inch, helps rain run off the landing board instead of into the entrance.
Give yourself room to work. On a hill, it's tempting to crowd hives against a bank or fence, but you'll want at least a few feet of level standing space behind each hive for inspections, and enough clearance to set boxes down without them rolling away. I also keep a small gravel pad under each stand so the ground doesn't turn to mud in spring.
Finally, think about your own access. Hauling supers full of honey down a steep path is miserable and a little dangerous. If you can, site hives near a path you can walk comfortably with a loaded wheelbarrow, even if that means a slightly less perfect sun angle. A hive you can actually manage well beats a theoretically ideal spot you dread visiting.
None of this is complicated, but it does require paying attention before you commit. Spend a few mornings watching how light and air move across your slope, and your bees will thank you with earlier starts and calmer winters.



























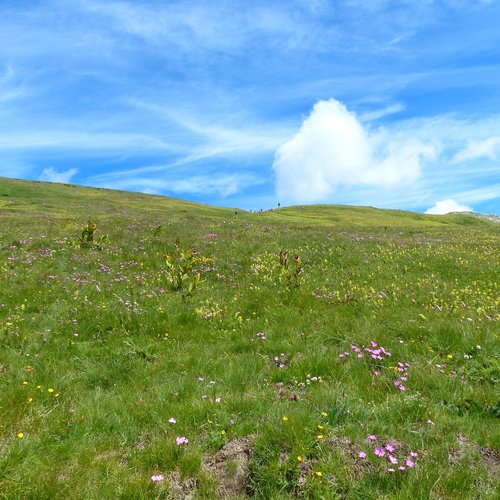

What nobody tells you about your first season keeping bees on uneven, wind-whipped hill ground.
Alice Rose
Aug 30, 2026 at 3:12 pm